WordCloud Quick Start Tutorial
Outline
This tutorial will guide a user through the basic functioning of the WordCloud plugin using the Cytoscape session file provided. See the WordCloud Parameter Tutorial for a more detailed examples on using and changing the parameters available for the WordCloud Plugin.
Pre-requisites -
Cytoscape >= 3.1 must be installed
The WordCloud plugin must be in the CytoscapeConfiguration/3/apps/installed folder
- Download the test data (AlzheimerEM.cys)
Go to this page to download the plugin and test data
Instructions
WordCloud Version 3.0.1 or newer
1. Open Cytoscape
2. Open the provided sample data file (File / Open / select the file AlzheimerEM.cys)
3. Be careful not to change the set of selected nodes for the network titled "EM1_Enrichment Map" as this will change the results that you will get.
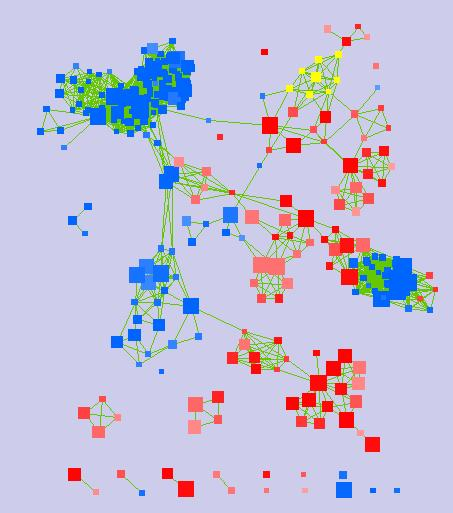
The example network with the correct set of nodes selected:

4. In the main menu select Apps > WordCloud > Show WordCloud - this will bring up the WordCloud Input and Display panels.
5. Under "Current Values" in the Input panel change the selected attributes to just EM1_GS_DESCR. This will change what node attribute are used when performing the semantic analysis and creating the cloud. For now you can leave all other values at their defaults. A WordCloud is automatically created in the WordCloud display panel.
6. To save the state of the word cloud click on the [+] button in the input panel. This will save the cloud under the name "Cloud_1".
Expected Result:

7. Right click on the cloud in the list of clouds and choose "Rename Cloud". Provide a new name for the cloud that is not a duplicate of a name already given to any clouds for this network and select OK.
8. Expand the Advanced section of the Input panel by clicking on the black triangle next to the section name. Change 'Max Num of Words' from 250 to 5. For a more detailed example on how the parameters affect the word tag clouds, see the Parameter Tutorial.
9. The cloud automatically updates to reflect the parameter change.
- The Update functionality only applies to the cloud currently selected from the list of clouds in the top section of the Input panel.
Expected Result:

10. In the word cloud, click on the word "Cancer" to see all the nodes in the network that contain this word become highlighted.
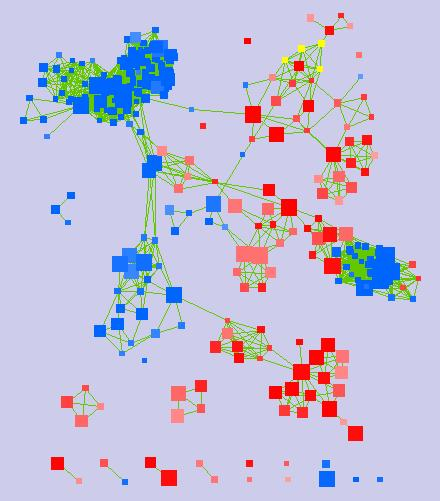
The example network with all nodes containing the word Cancer in the attribute EM1_GS_DESCR highlighted:

11. Click on the cloud in the cloud list on the top section of the Input panel to re-select the set of selected nodes that the cloud was built from.
12. With the cloud highlighted go to Apps > WordCloud > Export Cloud Image in the main menu. This will allow you to save the image of the cloud as a PNG file.
13. Right click on the cloud name and select Delete to remove the cloud from your list of clouds.